Wiregrass • Hidden Moisture
Moisture Detection and Thermal Imaging in Dothan, AL
A stain on a ceiling, a damp spot on the floor, or a leak that keeps returning can leave a property owner unable to tell how far moisture has actually traveled. Moisture meters and thermal imaging are tools that can support that investigation — but they have real limits. An assessment combines history, visual inspection, and targeted instrument use; it is not a guarantee of finding every leak, and this page does not claim ownership of specific equipment or certified thermographers.
The problem
What the tools actually show, and what they do not
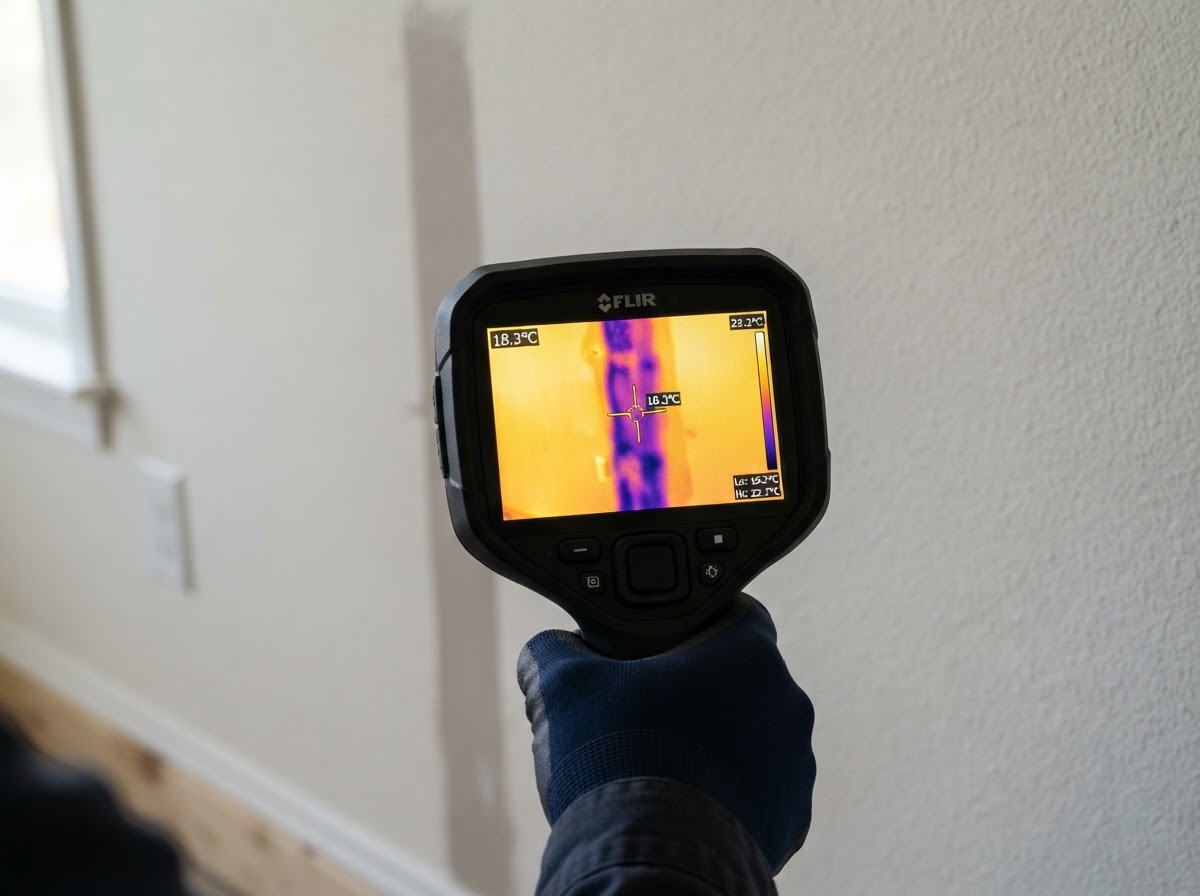
- An infrared camera shows surface temperature patterns, not water itself
- A temperature difference can have several causes besides moisture
- Moisture meters measure material moisture under suitable conditions
- Readings depend on material type, depth, and method
- Visual inspection and history are part of the interpretation
- Comparing affected and unaffected areas adds context
- Some conditions still require limited, authorized invasive access
Process
How a moisture investigation is actually performed
A sequence that combines history, visual inspection, and targeted instrument use. The tools guide the investigation; they do not produce a guaranteed leak location.
Take the issue history
When the sign appeared, whether it recurs, what was happening when it showed up, and any known plumbing, roof, or HVAC events give the investigation its starting context.Review source and safety
Before instruments are used, the area is checked for electrical or structural hazards, and the suspected source is considered alongside the visible signs.Perform a visual inspection
Staining, swelling, peeling, discoloration, and material changes are mapped, because the visible signs often guide where instruments are most useful.Use instruments in targeted locations
Thermal imaging surveys surface temperature differences; moisture meters probe specific materials. Neither is used blindly across an entire building.Compare suspicious and unaffected areas
Readings are compared against dry reference areas in the same building, so a reading is interpreted in context rather than as an isolated number.Interpret readings and decide next steps
The combined findings inform whether further investigation, drying, removal, source repair, or limited invasive access — with appropriate authorization — is warranted.
Materials & scope
Where the tools help, and where they reach their limits
Different materials and conditions change what an instrument can tell you. A thermal image or a meter reading is one input among several; it is not a standalone diagnosis.
- Drywall & insulation
- Moisture meters can detect dampness in drywall; insulation behind it can hold moisture that changes the thermal pattern without being directly measured.
- Ceilings & cabinets
- Stains on a ceiling and damp cabinet backs can be surveyed, but the construction behind them can shield moisture from a noninvasive reading.
- Flooring & slab-adjacent areas
- Floor coverings and concrete slow or block direct readings; a surface that looks dry can sit over a damp subfloor or slab that requires other methods.
- Heating & AC effects
- Running HVAC, sunlight, and insulation differences create temperature patterns on a thermal image that can mimic or mask moisture, which is why context matters.
- Concealed voids & different materials
- Plumbing inside walls, voids behind finishes, and mixed material assemblies can hide moisture from any single instrument and may require combined methods.
- When another specialist is needed
- Locating a slab supply-line leak, confirming microbial growth, or ruling out a structural concern may call for a plumber, industrial hygienist, or other qualified specialist.
Frequently asked questions
Next steps
Related restoration topics
Live pages with related guidance for Dothan-area property owners.
Describe the visible sign and request an assessment
Share what you see, where it appears, whether the source is known, when it began, and any previous evaluations. The inquiry is reviewed — it is not a confirmed leak location or a guaranteed inspection outcome.